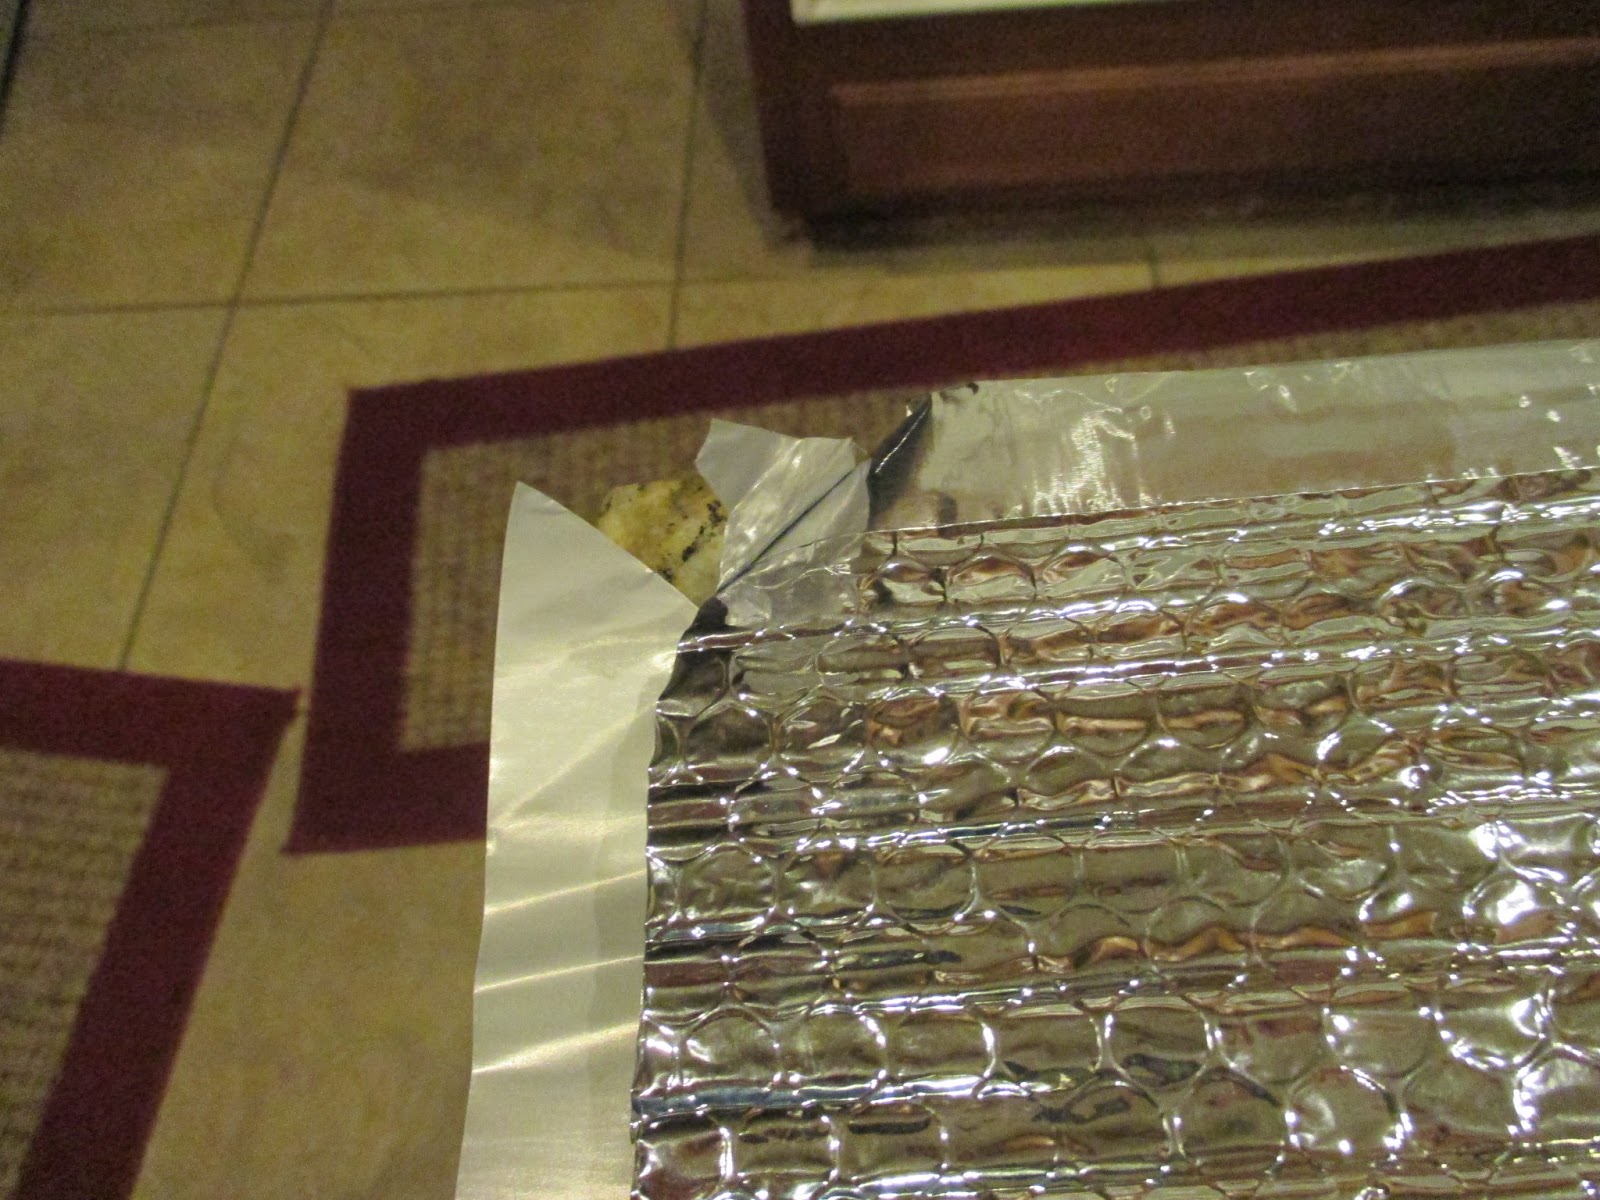
I am using Reflectix, aluminum foil with bubble wrap in the middle. Purchased a large roll 2x25ft.
Other items
1- roll of reflectix 26.00 lowes
2-roll of aluminum tape 3.25ea Home Depot ended up using 3 rolls.
NOTE: If you see any blue writing means an update.

The windows on our 2350 (2008) were as follows
REAR BEDROOM 34 1/4 x 19
BEDROOM 33 1/2 x 20 1/4
KITCHEN 16 3/4 x 12
DINETTE 40 x 22
DOOR 13 3/4 x 22 1/2
BATHROOM SAME SIZE AS THE KITCHEN WINDOW
FAN OPENINGS ARE 13x13 BOTH OF THEM
SKYLIGHT 12X 24
NOTE: this is the window only not the alum frame, also some of the frames are different. I noticed this on 6/18 I was exercising the genie, got in some prep work for the projects. by the way,, turned on the AC very comfortable was about 90 to 92,,, I put a thermometer on the dash, read 122 degrees. No window dash screen, full sun.
I took some project paper and made templates for each window.. I wanted the edges of the shields to cover only the window.
Next problem was figuring out a way to hang the shields. Originally had spent a lot time looking at how to hang the shields where they would stay in place. I had even purchased some materials to do this. After working on making some of the shields came up with another plan.
After measuring windows, took the project paper, made a rough cut of the window opening. Taped it up over the window then carefully cut it out.. Probably did not have to use a template if you want, but with the rounded corners I wanted the exact shape. This is especially true of the door window and rear bedroom area. Since they do not open easy to make exact covering.

These are the kitchen and door shields.


Had to add some indention for the bedroom window pass side. Has the emergency handles.

FRONT WINDSHIELD.
Most of us use some kind screen for the windshield. Helps with sun and protects the dash. Does not help to much with the heat. I purchased this cover to place outside to cover the windshield and two side windows.


Anne sent me the following pics of a solar cover that PC use to sell???. do no know the cost. It also can be used with the driver/pass windows down. I also know their or other covers that do the same.


UPDATE. 7/21 After starting on my summer projects I would work on the windows at night, measuring and cutting. I noticed my original thought of using the cords was not going to work for the big windows. I also wanted to be able to fold/roll the covers some way for storage purposes, especially the three big ones.. so new thoughts,,, use the curtains half way down (they are pretty stiff) and put something between curtain and the new shields.
NOTES:
USING ALUMINUM TAPE... this tape is a little difficult to use. Couple pointers.
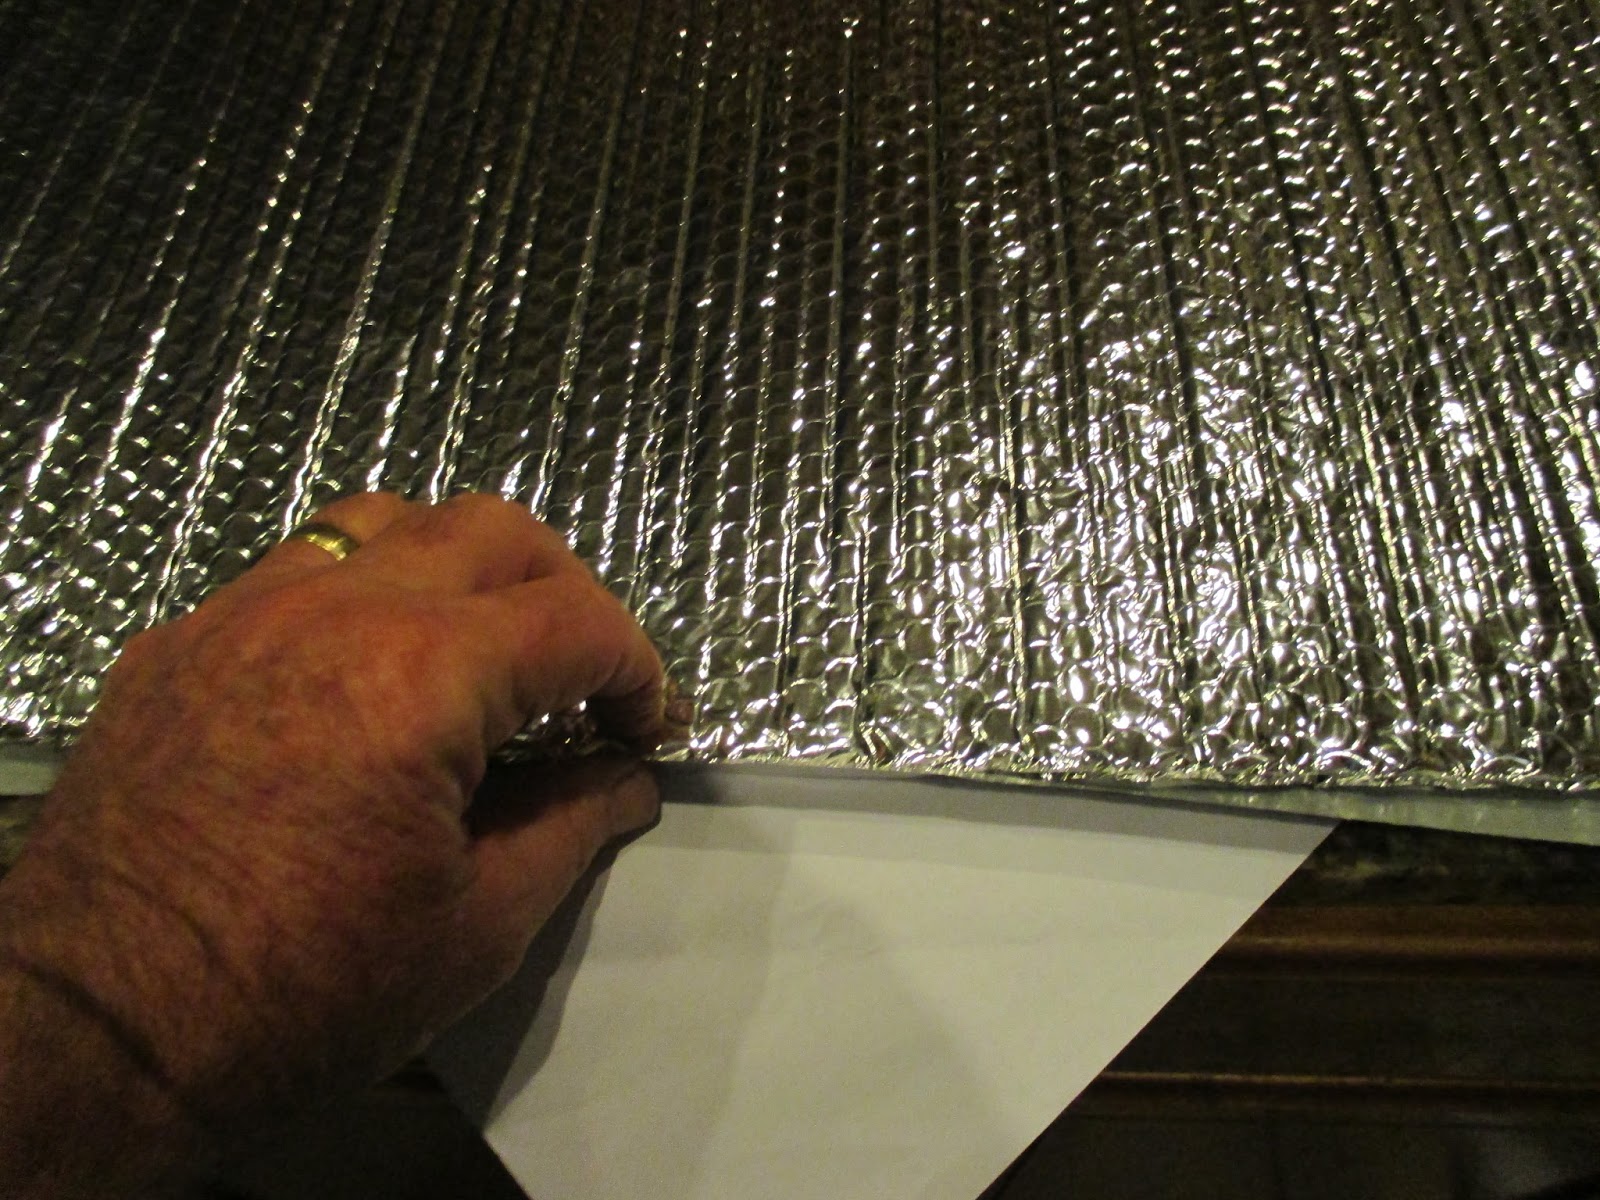
As noted I would use masking tape to put the two pieces together. After checking the shield against the window and making any final cuts I would leave the tape on. When ready to apply the aluminum tape would take the masking tape off the edge I was working on.
I peeled the paper off the back and would hand measure using the roll in one end and the other end would mark where I was cutting, I would then put two fingers between the cutting area, cut the tape so I could grab both ends. The paper backing is a pain to get off, so I used this technique.

I would take the measured piece and place it on the shield at about 3/4 over lap. press it down then flip the shield over.
I would go ahead and cut where the corners were.

After the edges done, would measure half way and cut into two pieces. I would makes the fold line about 1/8 inch. I would use a long piece of tape, carefully pressing down, flip over the shield fold in the flaps, then take a smaller piece of tape to complete the folding area.

As I stated earlier working on the smaller windows was good practice and if you mess up, want use to much material.
After installing the shields I decided to use the curtains/shades to hold them in place. All of these are cabled to the wall and firm. I used some foam pipe installation to put between the curtain/shade railing to press the shield into the window opening. Very simple and nothing like I had previously planned. Guess I should have used the KISS principle, but until you start on something you just don't know. haha...
One of the reason I wanted to make the shields foldable is for storage. .I marked the holders since I custom cut them for each window. Plan on obtaining large plastic, paper bag to store in.
PROJECT TIME: Not sure a bunch of hours.. I had to experiment a little. back and forth to measure and trim the shields, sometimes a couple of times. But was a fun project and interesting. I did a lot of the work in the house so I could have a counter to work on and it was cool
I will update the site after our first trip and see how they do.
Saturday finished all the shields. Time to install.


Putting shield in dinette area, notice the fold.


I added theses pics on 9/3, made three shields two for the fans and one for the skylight, Used the above mentioned brackets to attach. BTW, I put a thermometer between the skylight and the shield, reach over a 120 degrees in about 10minutes.
I have included my heat chart at the end of the project. I did this to look at the effects of the temperature, sun etc. I might post the heat chart as separate posting also..
NOTES ON THE PROJECT:: Cost was not to bad. Probably less than $40.00. I did double the shields. If you did a single sheet would be cheaper and easier. Heck you would not even have to use tape if you did not want to. I just thought after looking at the material it would fit more snugly in the windows by doubling. A fun project takes a little time back and forth making sure of the fit and so forth but fun to do.
HEAT CHART
One of the
things I did when I brought the Beast home was to monitor the temp inside. I had the unit parked facing North. Slight
shade from the top of the house in the AM.
No shade on east side. Some shade from trees late in the day on west
side. If you look at the pic of the window shield cover you can see some of the shade I was talking about. At the end of the chart I make some of my own observations.
Window dash screen
front windshield. all windows fully open.
July 17,18,19,20,21
Window dash
screen front windshield. all window
shades down. July 22,23,24,
Window cover
put on front windshield, window shades down July 25 26
Window cover put on front windshield, heat shields in window July 27,28,
DATE
|
TIME
|
OUTSIDE
|
INSIDE
|
DASH
|
NOTES
|
17
|
10A
|
81
|
80
|
84
|
RAINY, CLOUDY ALL DAY
|
18
|
9A
|
82
|
82
|
86
|
ALL WINDOWS NO SHADES EXCEP FRONT WINDSHILED POP UP SCREEN
|
1P
|
90
|
94
|
108
|
||
4P
|
92
|
108
|
118
|
||
7P
|
90
|
103
|
112
|
||
8P
|
99
|
102
|
|||
19
|
9A
|
80
|
82
|
88
|
|
1P
|
94
|
96
|
104
|
||
630P
|
81
|
85
|
90
|
RAIN PM, STAYED CLOUDY
|
|
20
|
9A
|
78
|
77
|
82
|
|
2P
|
92
|
92
|
108
|
||
7P
|
80
|
88
|
101
|
SOME RAIN, CLOUDS
|
|
21
|
12P
|
81
|
82
|
100
|
RAINY, CLOUDS OFF/ON
|
22
|
12P
|
94
|
90
|
104
|
ALL CURTAINS SHADES DOWN ALL DAY
|
5P
|
93
|
102
|
108
|
||
23
|
9A
|
86
|
82
|
90
|
|
12P
|
91
|
88
|
96
|
||
5P
|
95
|
104
|
116
|
||
24
|
9A
|
84
|
84
|
99
|
|
1P
|
93
|
93
|
107
|
||
5P
|
95
|
102
|
110
|
||
2. The Cruiser is well made and insulated once the heat gets in
it's not leaving.
3. Putting the shades down does help. Did not use my small
awnings, sure that would helped some.
4. The front window shield cover does makes a big difference.
I think this will be very good investment, saw some other
threads about the one with screens for the pass/driver
window, but with three windows to open and the hassle of
getting to the window decided on the one piece.
5. Individual Reflectix covers help a little, I think they will be of
better use when camping, installing as the sun moves, it's the
direct sunlight that is the heater(pun)
6. Back to our storage argument. If your RV is not covered, it is
going to cook inside. We have a take out box for our unit,
I take out all the electronic tools, controllers, solvents, etc
of stuff I don't want sitting inside unless I know it is going to
be a short storage time.
I've said enough, jump in with your thoughts.